Ever looked at a photo and thought, “This could use a little more pizzazz?” Inverting colors on an iPhone can transform your ordinary snapshots into eye-catching masterpieces. It’s like giving your images a fun makeover without the hefty price tag of a salon visit.
Whether you want to create a striking visual effect or just have a laugh with friends, mastering this simple trick can elevate your photography game. Plus, it’s a great way to confuse your pals when they see your cat looking like a neon rainbow! Get ready to dive into the colorful world of photo editing and discover how easy it is to flip the script on your images.
Understanding Color Inversion
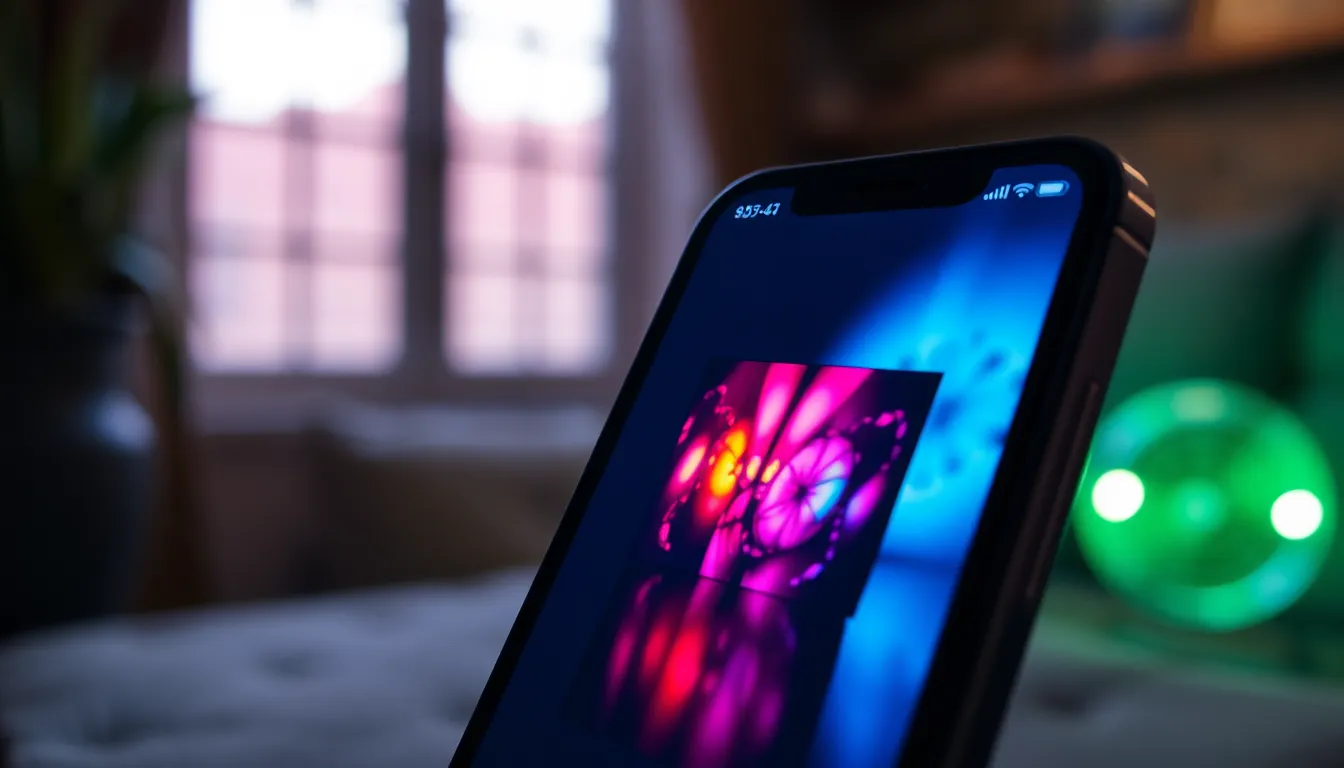
Color inversion alters the hues of an image, creating a striking contrast between light and dark. This technique is simple yet powerful, making images pop and providing a unique aesthetic.
What Is Color Inversion?
Color inversion swaps colors in a photo, turning light colors dark and vice versa. This effect sometimes produces unexpected and visually appealing results. In digital photography, users often utilize this feature to enhance creative expression. Software and mobile applications typically include options for color inversion, allowing users to experiment easily with their images.
Benefits of Inverting Colors
Inverting colors offers various advantages for photo editing. It enhances visual interest by creating dramatic contrasts, making subjects stand out in a distinctive way. Photographers often use this technique to reveal hidden details and textures within images. Moreover, color inversion can evoke emotional responses, allowing users to redefine the mood of a photograph. Personal creativity flourishes when using this method, leading to unique interpretations of familiar subjects.
Methods to Invert Colors on iPhone
Inverting colors on an iPhone is straightforward. Users can access different methods for this creative technique.
Using Built-in Accessibility Features
Access the built-in accessibility features for quick color inversion. Open Settings, go to Accessibility, and select Display & Text Size. Toggle on “Smart Invert” or “Classic Invert” to apply the effect to photos. Smart Invert preserves images while inverting colors in the interface, while Classic Invert applies the change system-wide. Users can instantly see the effect on photos in the Photos app, adding a fresh look with minimal effort. This method is immediate and doesn’t require additional apps.
Using Third-Party Apps
Explore third-party apps designed for photo editing to invert colors with more flexibility. Applications like Snapseed, Adobe Lightroom, and PicsArt feature advanced editing capabilities, including color inversion options. Users can easily adjust levels, saturation, and brightness, tailoring the final appearance of images. Simply upload a photo, find the color tools within the app, and select the invert option for striking results. This method suits those seeking in-depth editing without limitation while fostering creativity with custom enhancements.
Step-by-Step Guide
This section provides clear steps for inverting colors on an iPhone, enhancing photos in just a few touches.
Inverting Colors in the Photos App
To start, open the Photos app and select the desired image. Tap on the “Edit” button in the top right corner. Then, choose the “Filters” option. Explore the filters and select “Invert.” The colors shift instantly, providing a striking contrast in the image. After making adjustments, tap “Done” to save the changes. Users can see their photos transformed with creative flair, elevating ordinary images into artistic pieces.
Inverting Colors through Settings
Navigating through settings offers another simple method to invert colors. Begin by opening the Settings app and selecting “Accessibility.” From there, tap on “Display & Text Size.” Two options appear: “Smart Invert” and “Classic Invert.” Smart Invert adjusts colors while preserving images, whereas Classic Invert affects all colors. Toggle the preferred option on to apply the changes system-wide. This method can affect visible apps and media, providing ongoing creativity in photo display.
Tips for Effective Color Inversion
Color inversion adds a unique visual flair to photographs. Following a few tips enhances this technique for more striking images.
Best Practices for Photographs
Choose high-quality images for inversion. Clear, detailed photographs yield better results and reveal hidden textures. Consider the subject’s colors; vibrant images produce more visually engaging outcomes. Experimenting with different styles leads to unexpected creative results. Seek diverse compositions to see how color inversion alters the image’s atmosphere. Sometimes, subtle images turn dramatic with inverted colors.
Adjusting Lighting and Contrast
Adjusting lighting creates balance in inverted images. Optimal brightness levels enhance clarity, ensuring details remain visible. Increase contrast after inverting colors to emphasize differences between light and dark areas. Modulating shadows also adds depth and richness. Explore different settings to find the perfect combination for each photo. Finding the right balance will bring out unique characteristics that capture viewers’ attention.
Exploring color inversion on an iPhone opens up a world of creative possibilities. This technique not only transforms ordinary photos into eye-catching visuals but also encourages users to express their artistic flair. With easy access to built-in features and a variety of third-party apps, anyone can experiment with this fun editing style.
By following the simple steps outlined, users can quickly achieve stunning results that captivate their audience. Whether it’s for personal enjoyment or sharing with friends, inverting colors can redefine how images are perceived. Embracing this playful approach to photography can lead to unexpected and delightful outcomes, making every picture a unique masterpiece.